Welcome to Our Garage
Daytona Coupe, 289 and 427 Cobras
-42-
Daytona Coupe Cobra -
"Plastic" Parts Fabrication -
Side windows
Forming some plastic Daytona parts
Forming plastic; another new adventure on the coupe.
I use the term "plastic" simply because I was unsure of the material the original Daytonas used for these parts. As used in this description, I use the term "plastic" to generically refer to either polycarbonate (commonly known by the tradename of Lexan) or acrylic (commonly known by the tradename of Plexiglas).
The Daytona has several plastic parts including side windows, headlight covers, driving light covers, windshield air deflectors, quarter window air inlet scoops (for the rear brakes) and quater window inlet air directors. All of these need to be made to fit to the actual car.
Since I've never worked with polycarbonate, I decided to start with the side windows, because they are flat and need only to be cut to the correct size with no forming of bends.
This page covers the side windows fabrication with future page(s) detailing how I approched fabricating the plastic components that required forming with heat and a home made vacuum box.
Side windows
I used two original Daytona Coupes (CSX2601 and CSX2299) as guides for the side windows on my car, because I liked features of both. The side windows on the Daytona do not completely open; rather there is a smaller section of the side window that can be partially "opened" by moving it either forward or rearward. I liked the rear opening slider portion of the side window as used on CSX2299 but liked the aluminum slider tracks on CSX2601.
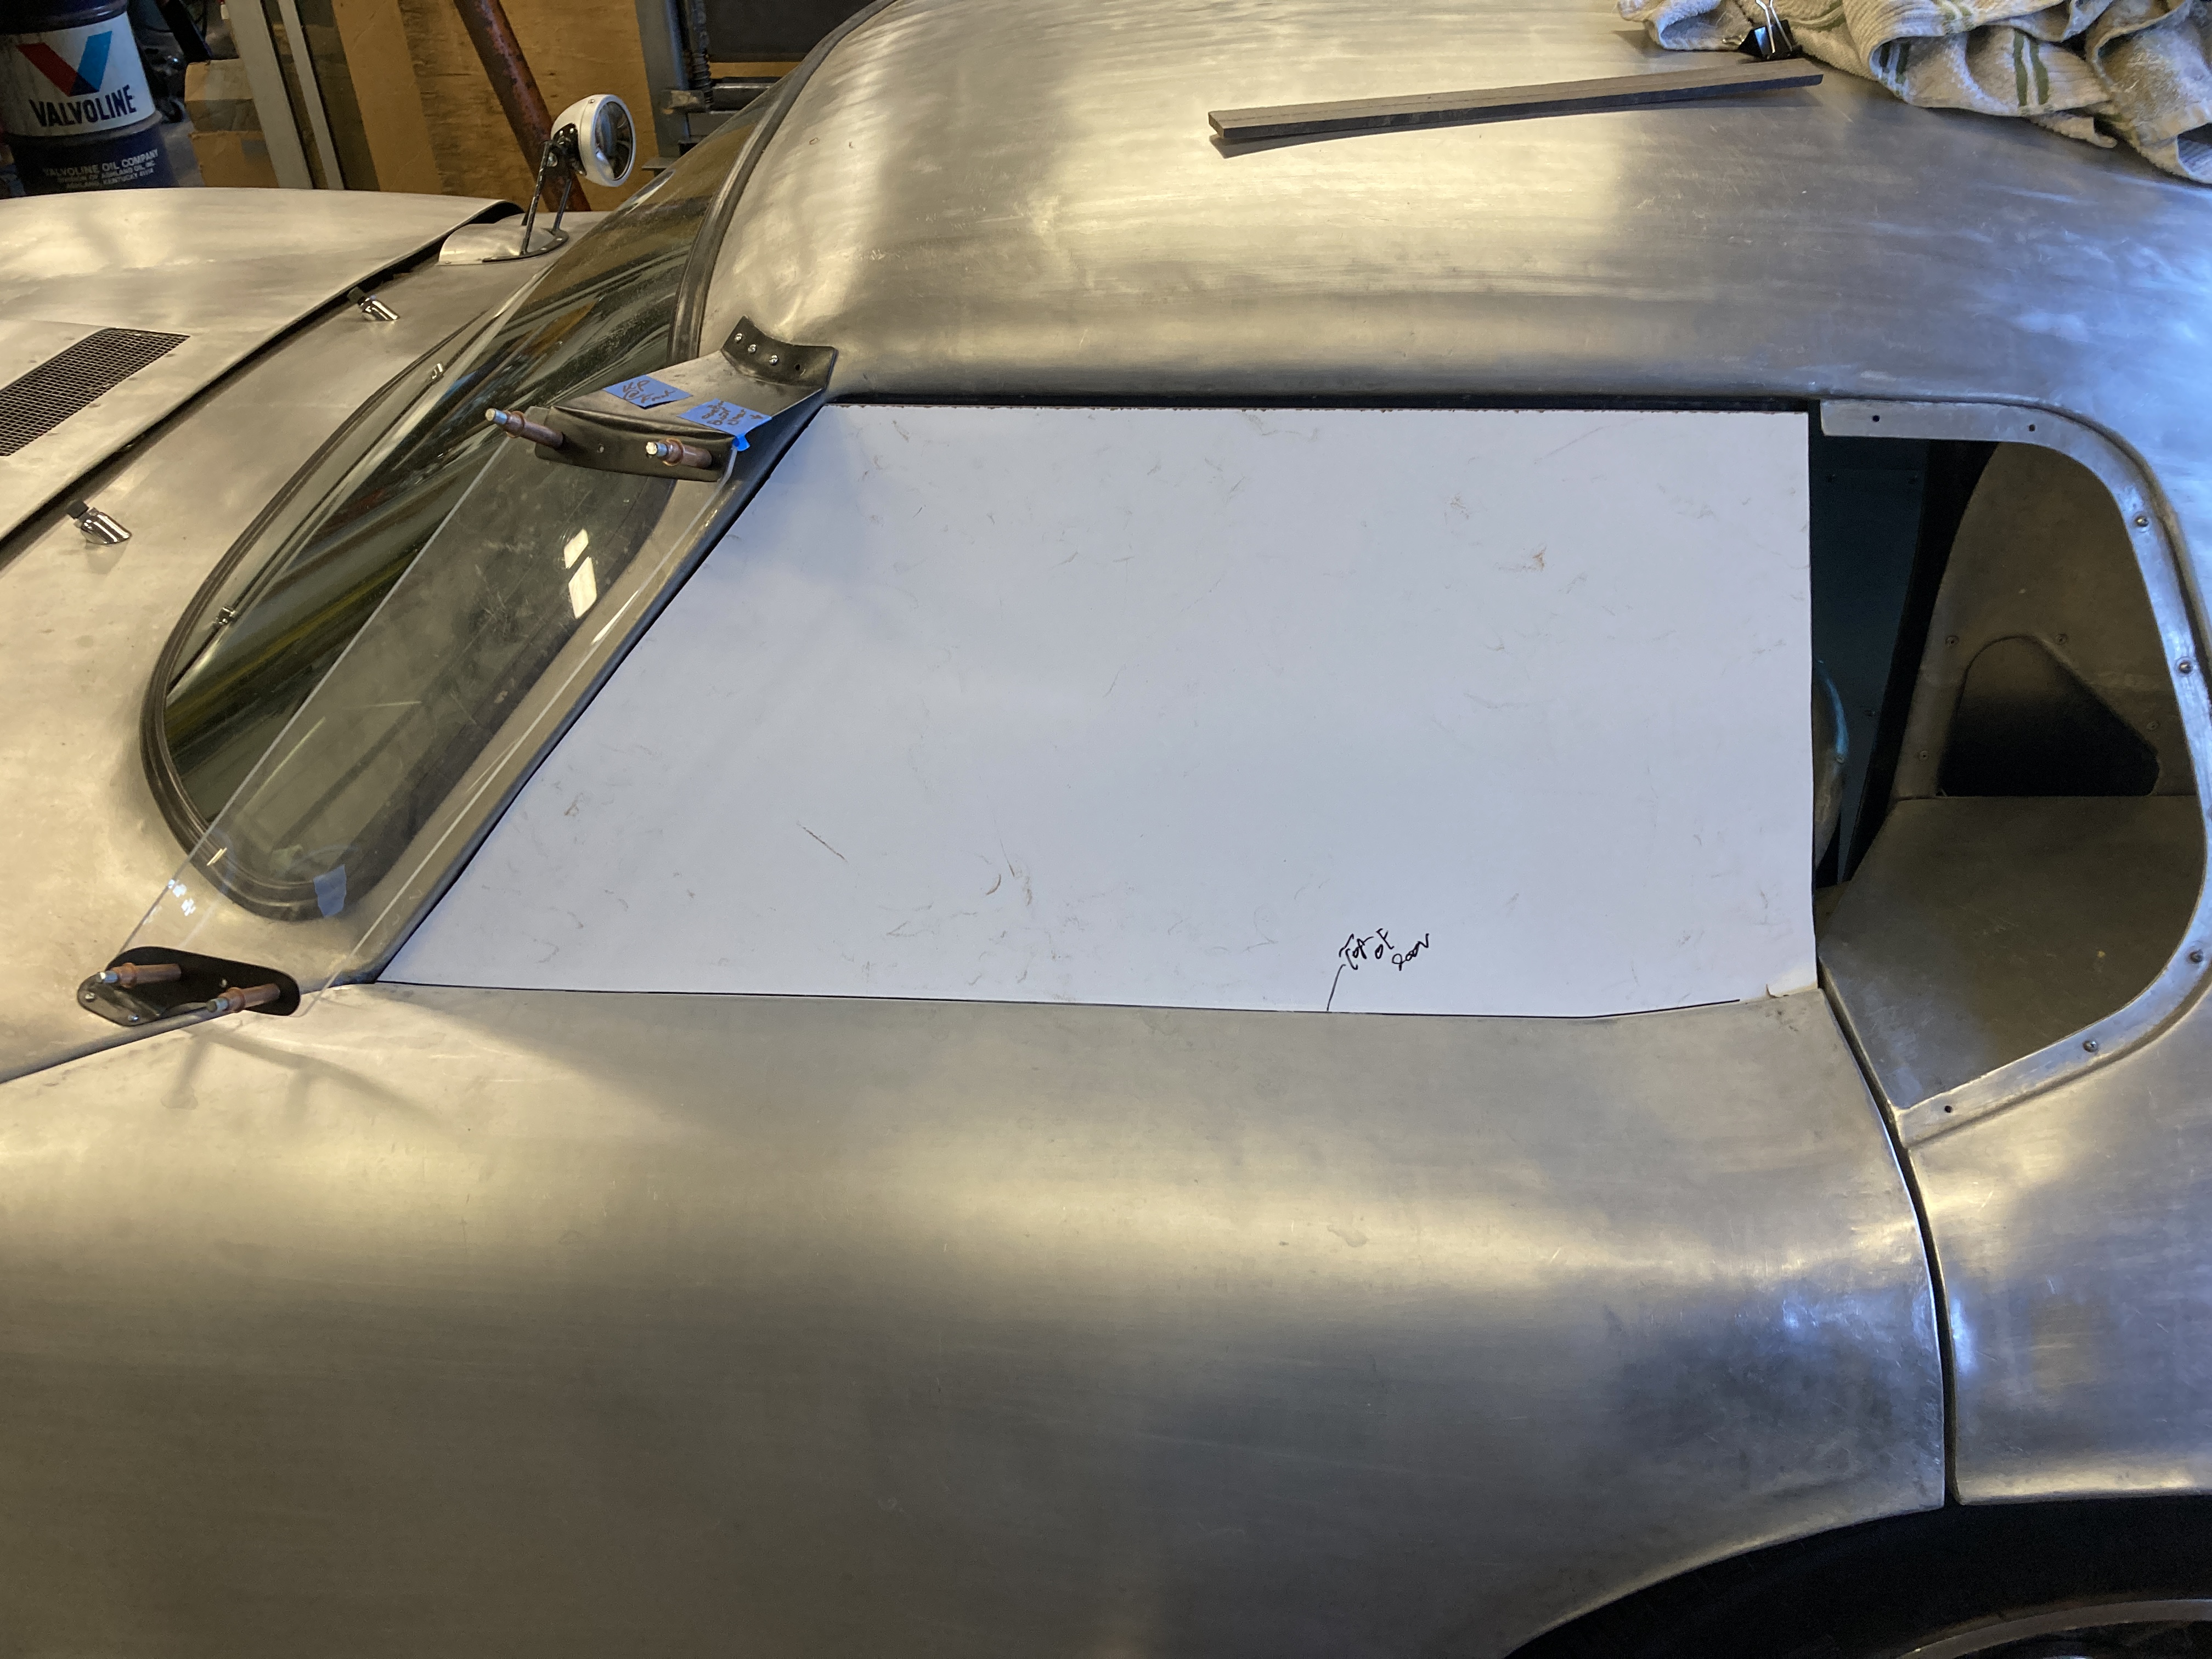
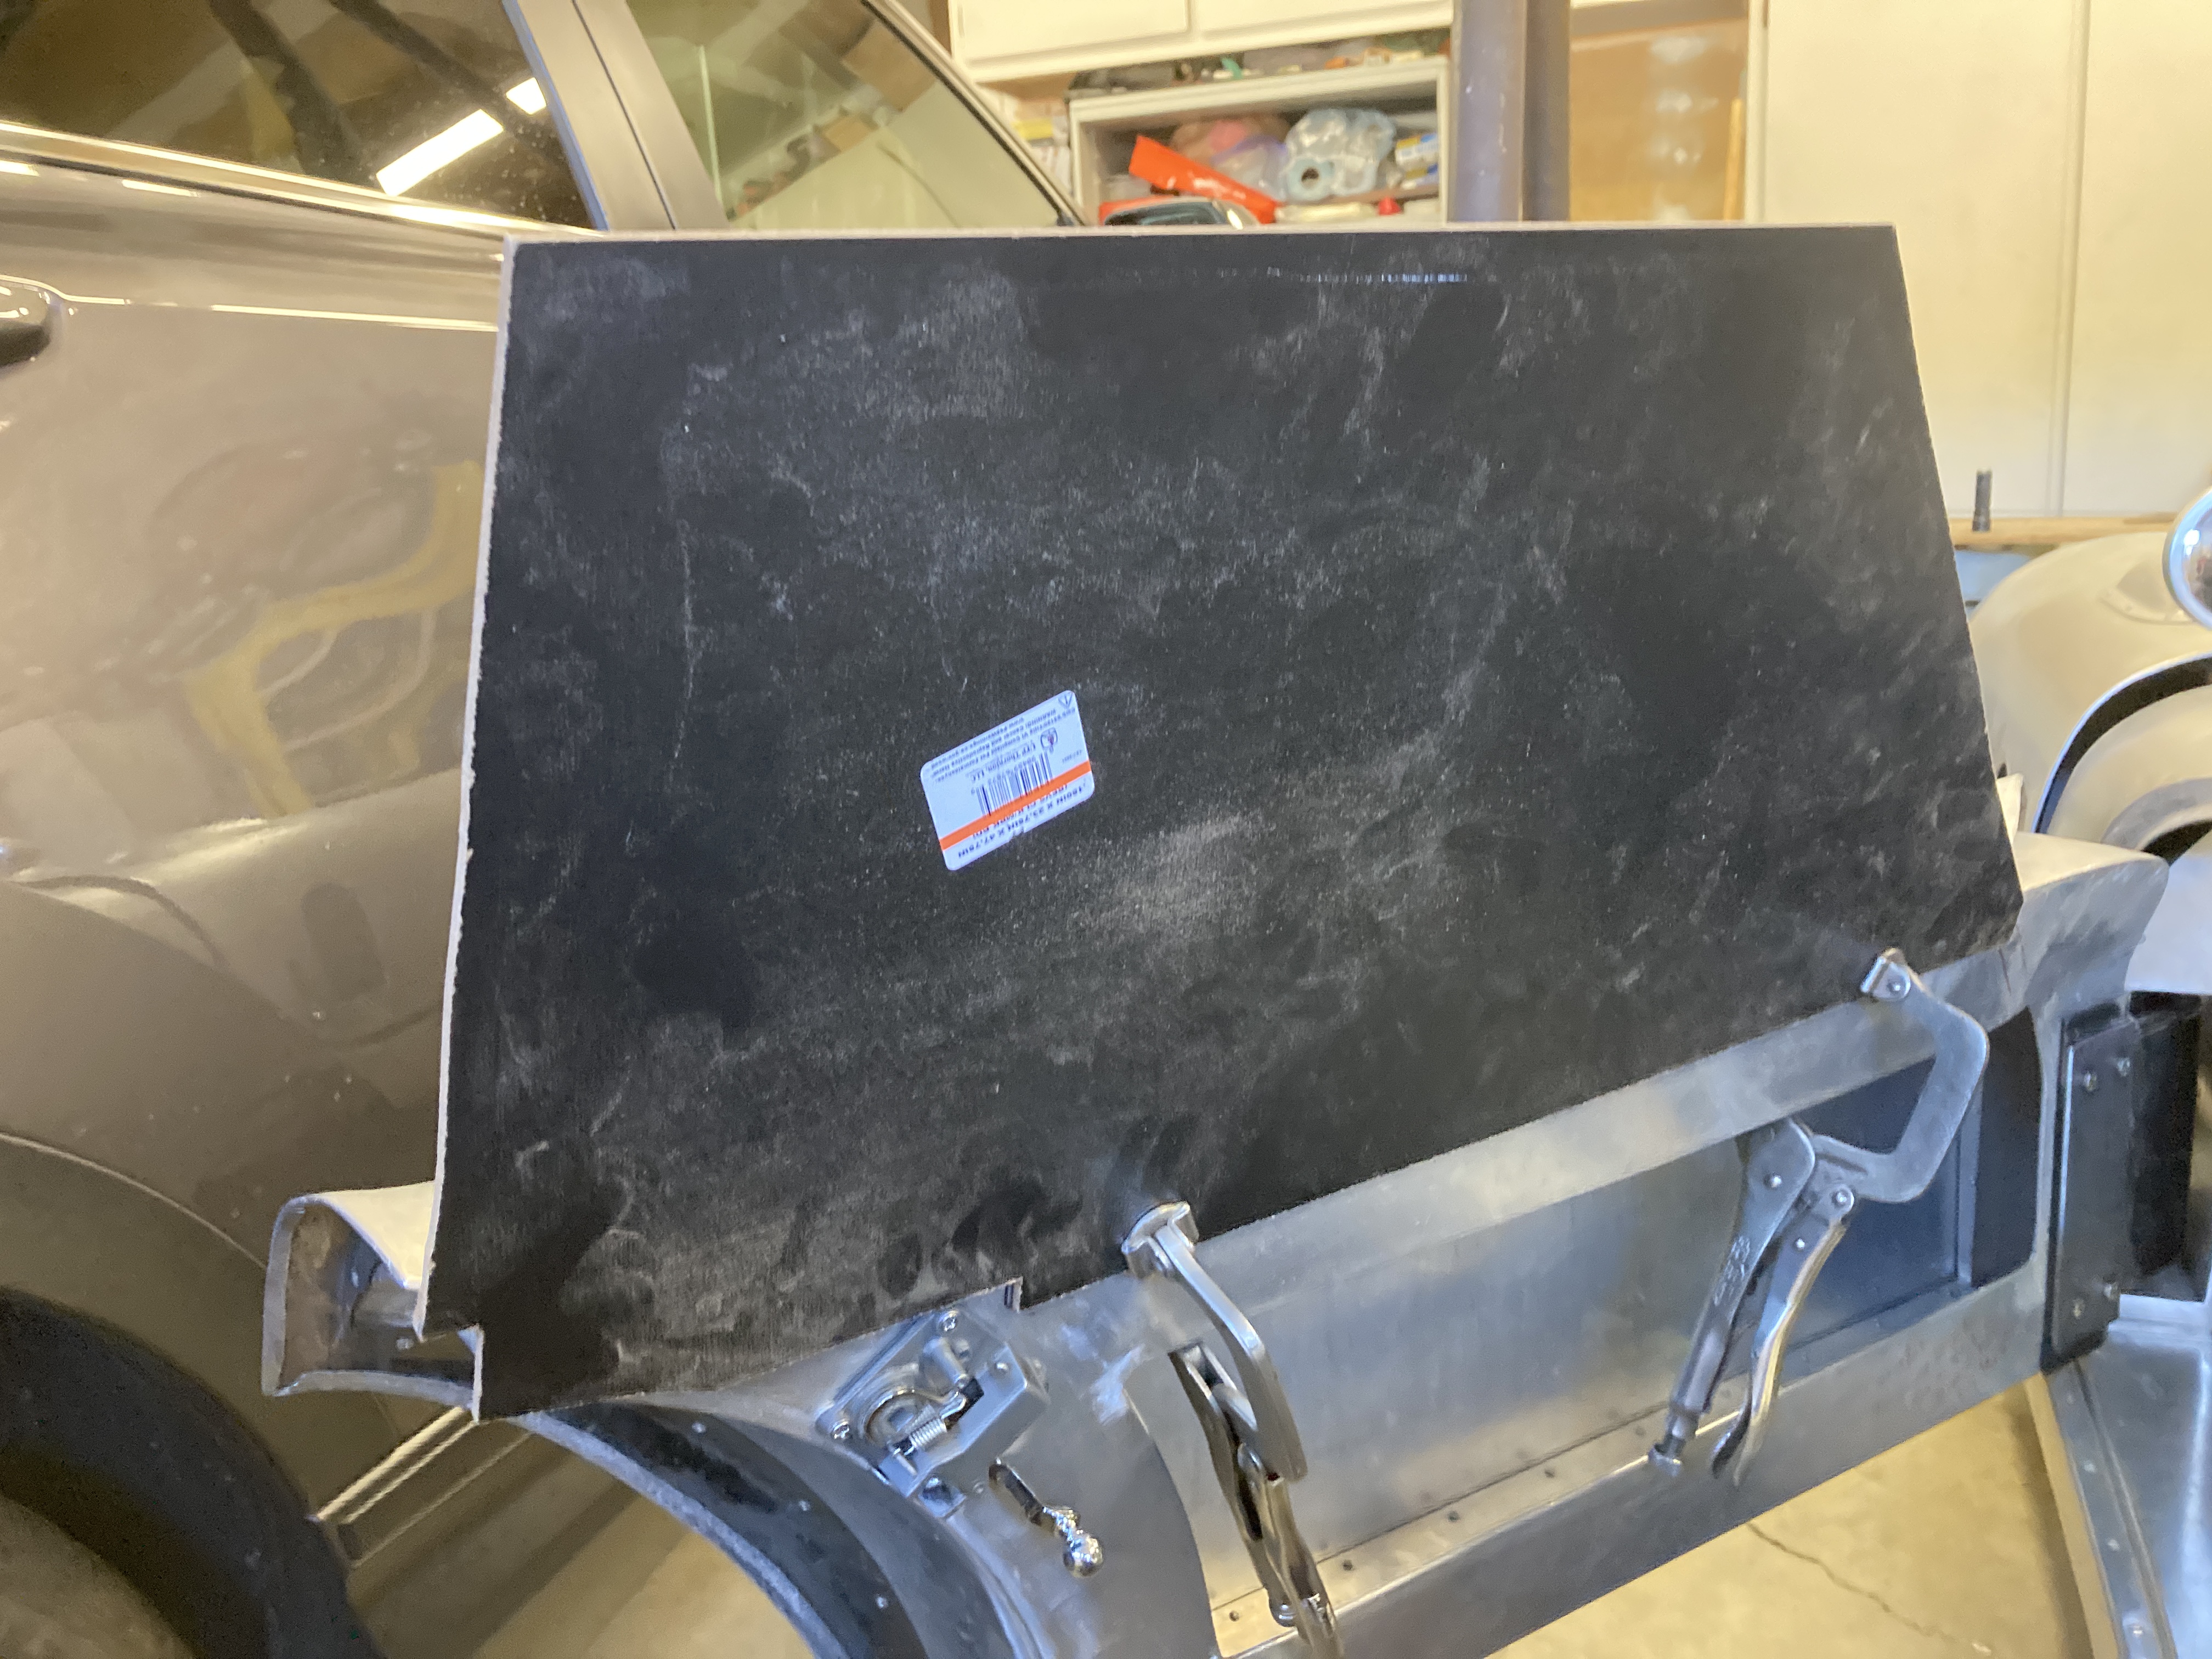
I decided to start with a piece of 3/16" fiberboard to establish the size of the window required. Making a mockup of the window with fiberboard was a quick and inexpensive way to ensure the window would correctly fit the door opening. The following photo shows an initial fitting of the fiberboard to the door.


Next was the window frame which adds rigidity as well as brackets to mount the window to the door. The window "plastic"is 3/16" thick Lexan, so the frame needed to suitable for holding that thickness material. After some Internet research, I did not find any commercially available U channel shape of the required size, so I formed my own. I suspect this might have been the approach taken when the original cars were fabricated in Italy.
The window frame is made from four separate pieces (front, top, rear and lower rear) of 18 gauge mild steel. The exact size and shape of the window to door mounting detail on original Daytonas varied, but most used a bracket on the front and lower rear frame channels as well as holes in the plastic itself to attach the window to the door with small machine screws. Although not as "flashy" as other materials such as stainless steel, I believe is more authentic to the original cars and certainly easier to form.
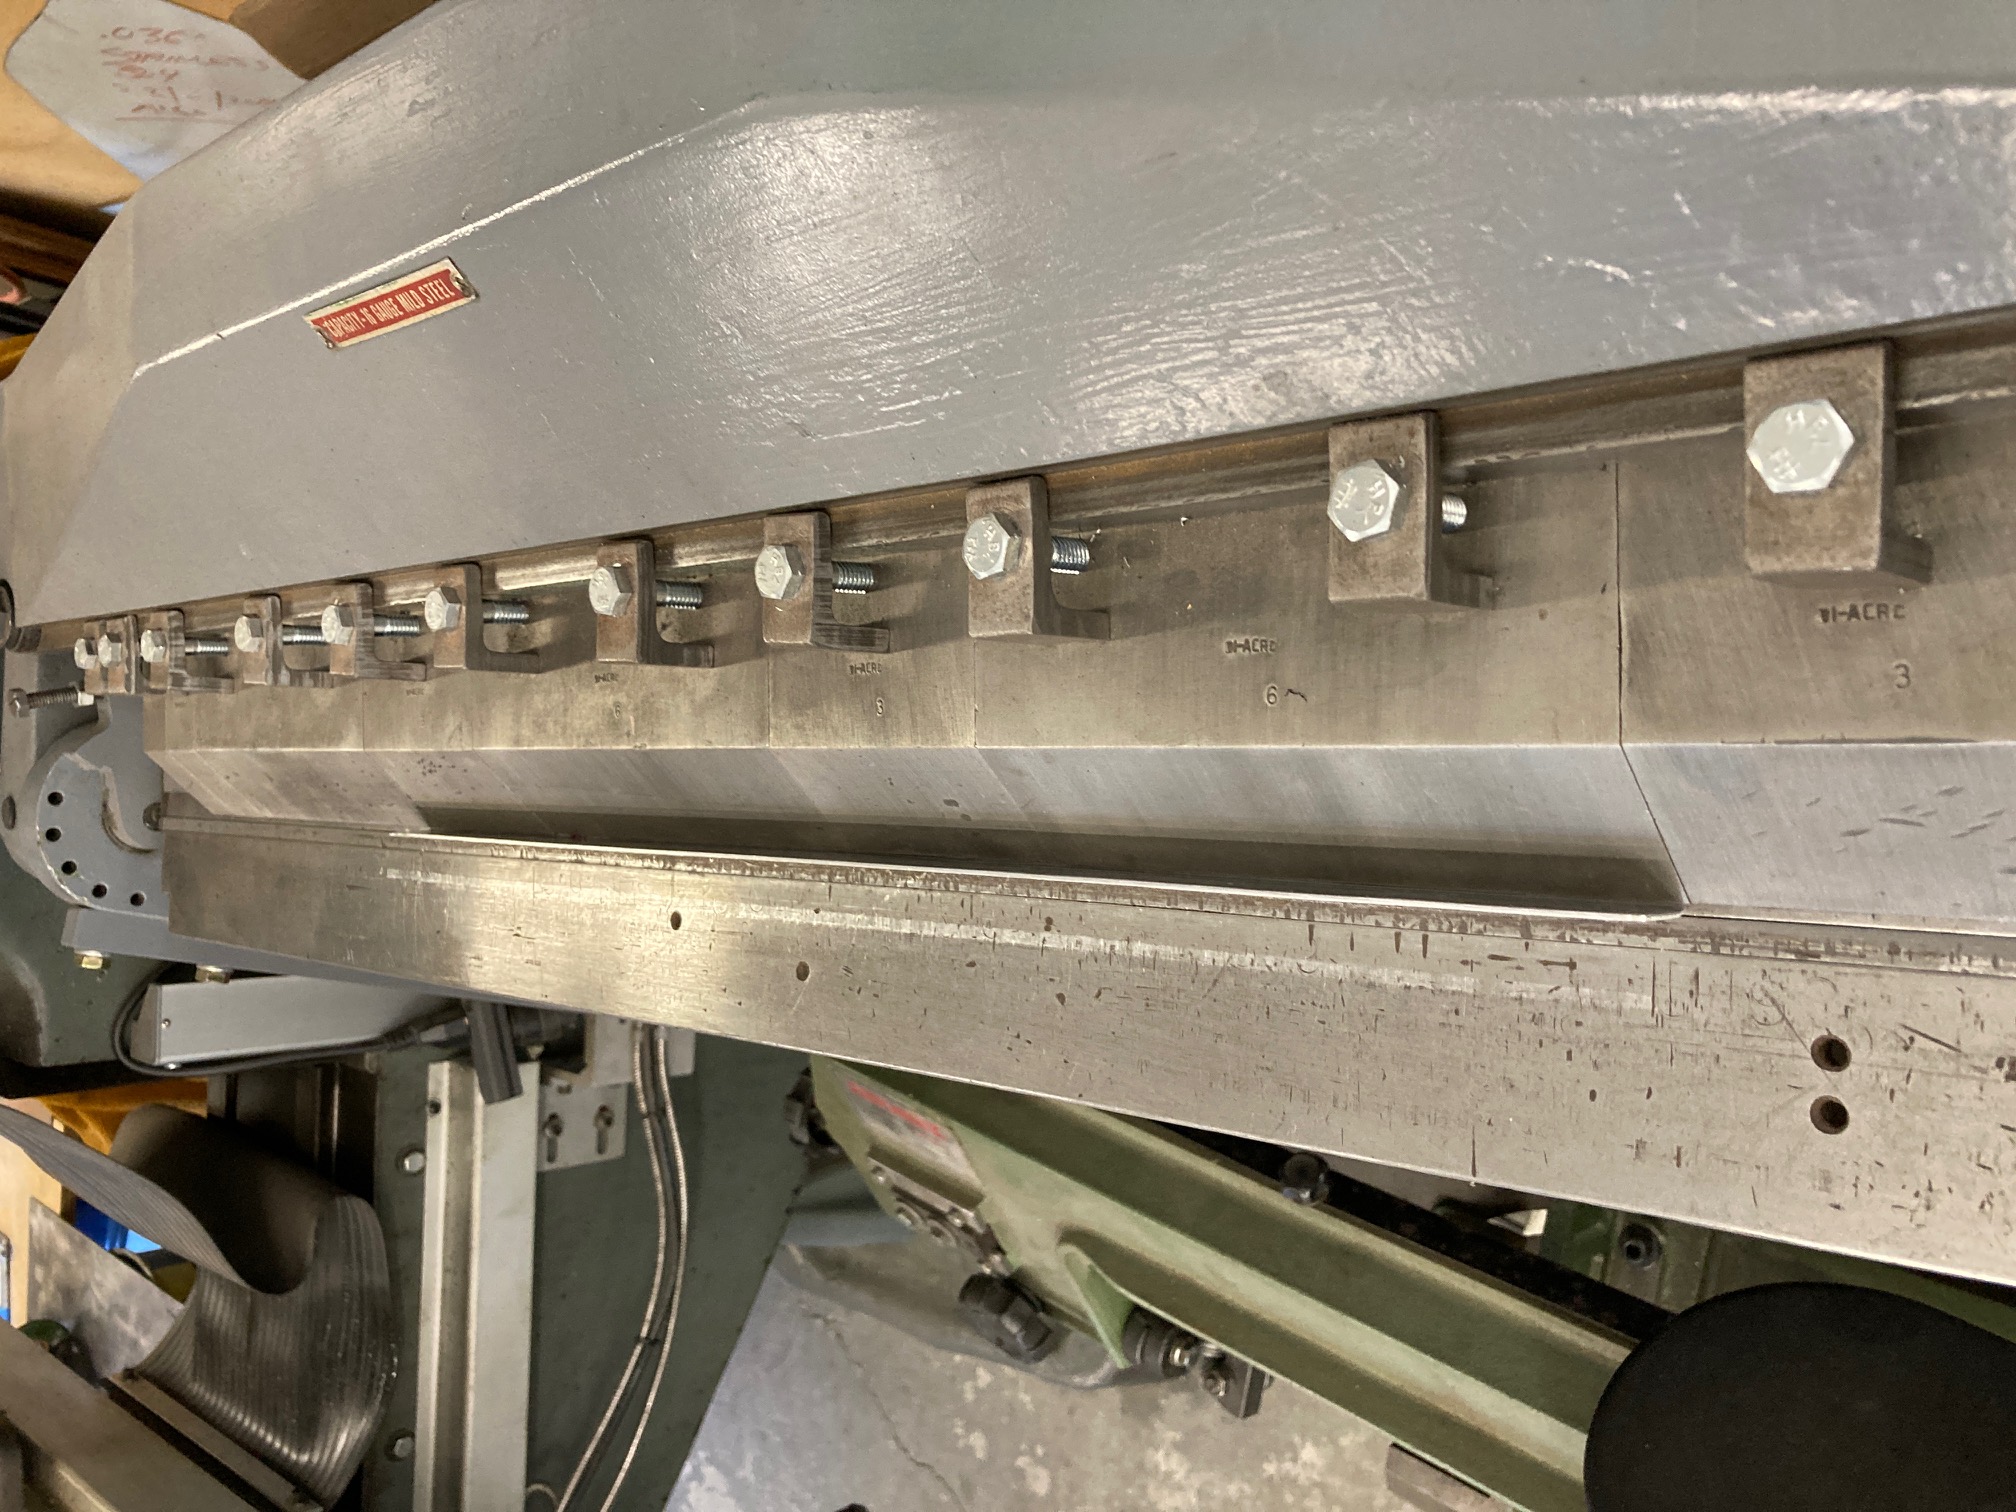
Bending the first leg of the channel was easy enough in a brake. However, since the interior width of the channel was only 3/16", bending the second leg was more of a challenge (because the clamping fingers got in the way of a full 90 degree bend). After trying several methods, I got the best results by starting the second bend in the brake, then switching to a hammer forming technique to flatten the channel to the basic size and shape. Finally using the English wheel to close the channel to a uniform dimension along its length. The following photo shows my technique for some of the forming in the brake and the English wheel.


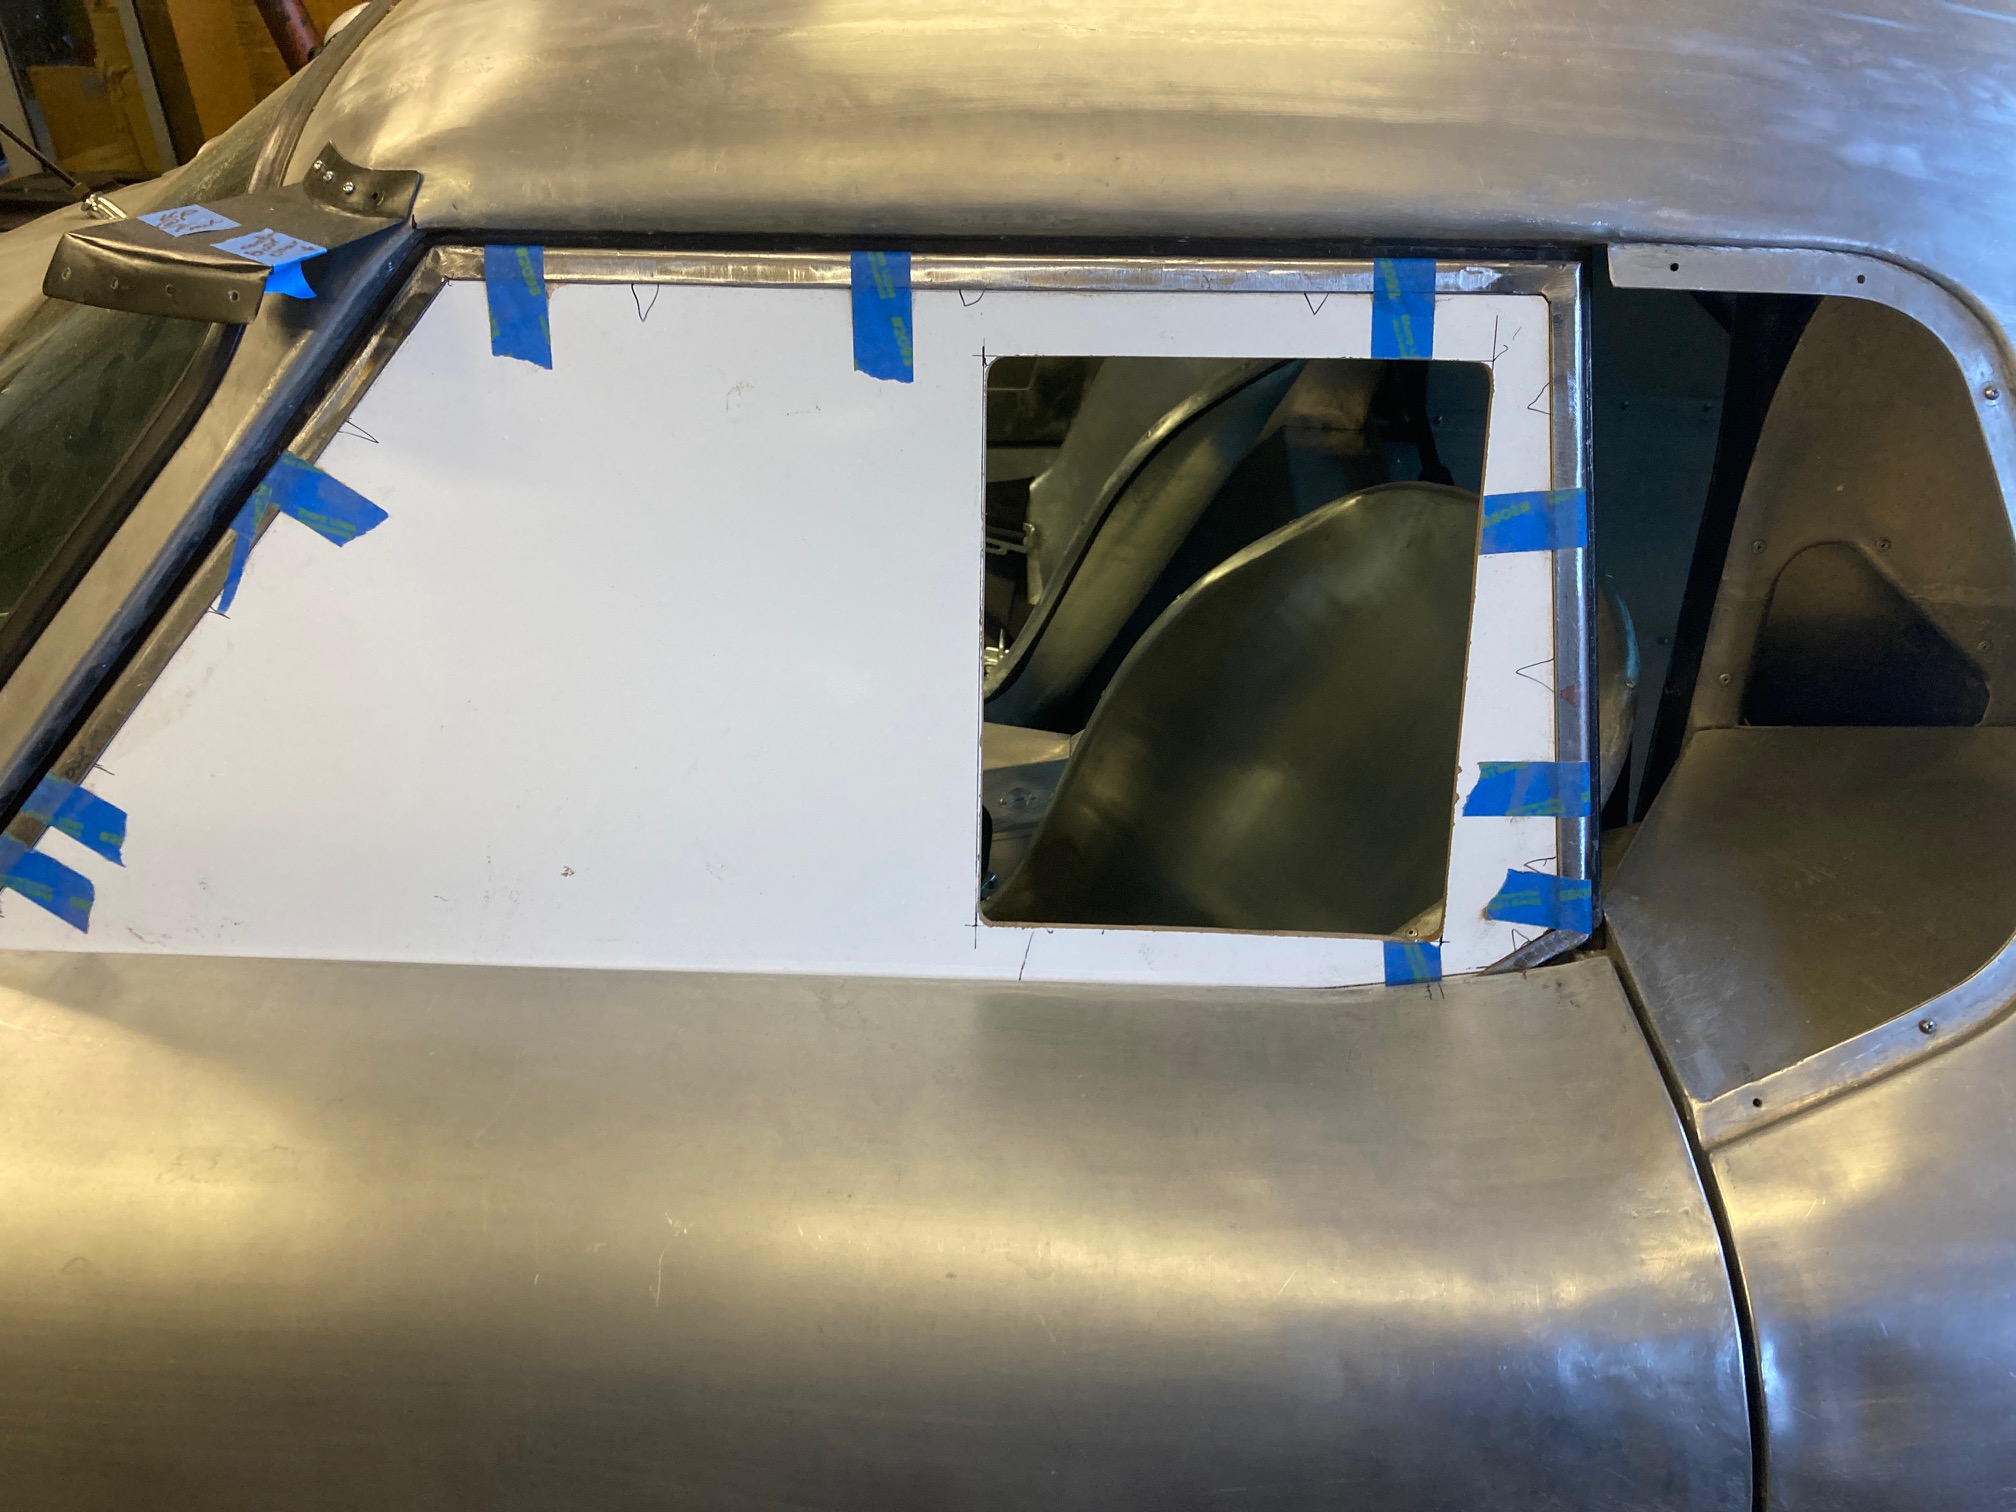
The 3/16" fiberboard was also used to hold the frame pieces in proper alignment while welding them together. A hole for the slider window was cut into the fiberboard to allow a mockup of the full window with slider opening. Taking time to get the size correct with fiberboard material saved time when the actual Lexan was fabricated. A progress of the mockup of the frame and fiberboard on the car is shown in the following photo.

Lexan was very easy to cut (with standard jig saw blades) and drill (with standard drill bits). Using the fiberboard pattern, it was a simple matter to finalizing the window in Lexan.
Since the slider window track was also non-standard shape, this was also custom made using the brake and English wheel similar to the method used in forming the window frame. Since this component was aluminum, fabrication was much easier than the steel U frame.
A progress photo of the almost completed driver side window. Now to repeat this for the passenger side.

Future pages will show more fabrication of some of the other curved "plastic" parts.
That's all for now, but more to come soon.