Welcome to Our Garage
Daytona Coupe, 289 and 427 Cobras
-21-
Daytona Coupe Cobra -
Assembling the Pieces
The preceding pages have shown the basic pieces in various states of fabrication and fitup. Starting with this page, the focus will be to show how the car goes together as a whole. Although most of the components have been assembled onto the basic chassis at one point or another, the entire car has not been together as a unit. The goal is to assemble the entire car and test drive it for several months to see what needs to be "adjusted" before committing to a final painting session. After all of the modifications are made to the basic car, it will be completely disassembled and final painting will be done.
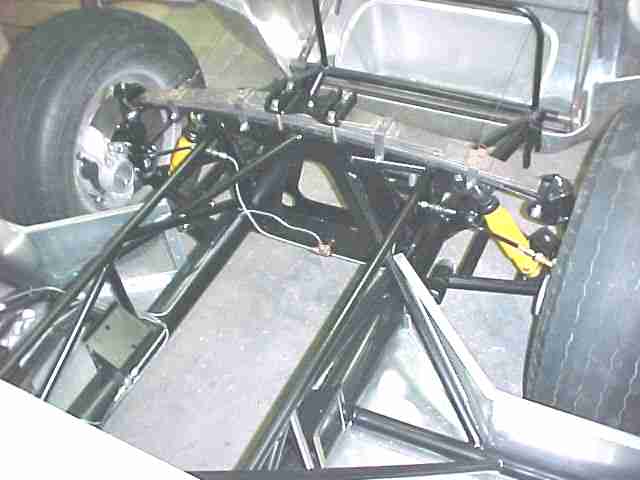
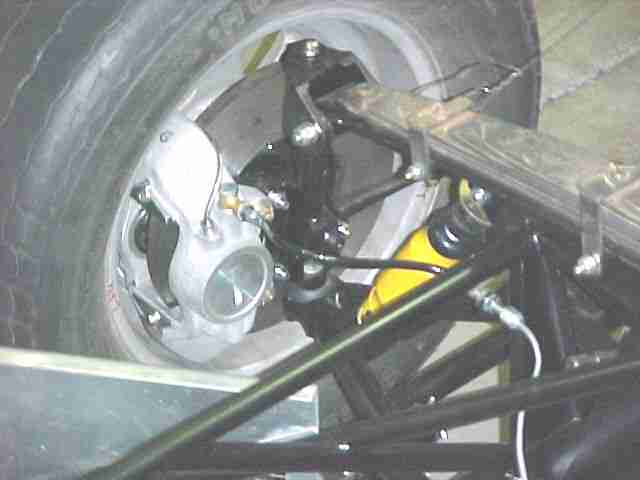
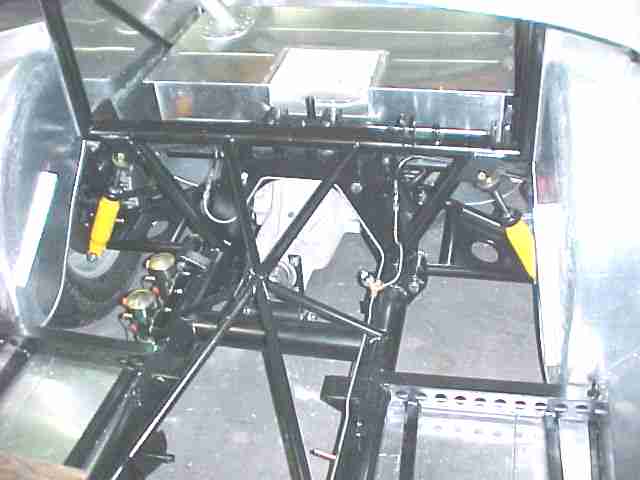
The first order of business was get the car on four wheels, which required the installation of the suspension components and wheels. The following photos show close ups of the front and rear after this installation was completed. For you eagle eyed folks, the shocks are Spax and not Koni. The springs were not painted because I wanted to check the camber of the car sitting on the ground. Due to the fixed length A-arm, the cobra's camber is only adjusted by varying the length of the spring. Although I have seen at least one of the original coupes with heim jointed A-arms which would allow much more convenient adjustment, I don't know if this approach was utilized in the 1965 season, or whether this modification was made by subsequent owners. For the present, I will do the camber adjustment the hard way, by spring length adjustment.


All of the suspension pieces except the springs have been painted and installed. I left the springs uncoated, since I assumed that it will be necessary to "tweak" the spring's length or arch to obtain the proper settings. Installing the motor and transmission was the next task.