Welcome to Our Garage
Daytona Coupe, 289 and 427 Cobras
-25-
Daytona Coupe Cobra -
Hood Assembly
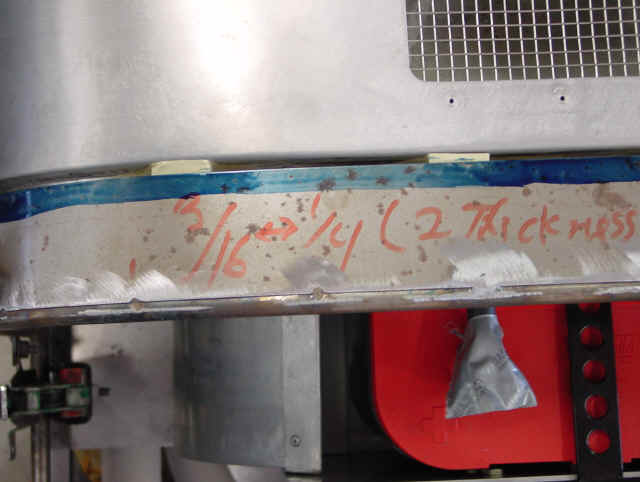
To attach the aluminum skin to the support tubes, the coupes utilize a fabrication technique similar to the cobra roadsters. A section of 2" wide 18 gauge steel strip is welded to the main hood support tubes along the cowl area and lower edges of the hood opening. This steel strip performs two basic functions; first it adds support to the aluminum at the edge and secondly it allows a uniform gap to be established between the hood and the cowl. The gap width is established by scribing along the steel between the adjacent body line and then trimming on the scribe line. The scribe line is placed at the desired gap plus the thickness of the aluminum. After trimming the steel, the aluminum will be riveted to the main tubes and then it will be trimmed approximately 1/2" longer than the steel to provide adequate material to be wrapped around the steel strip. The aluminum will then be worked over the steel edging to produce the finished edge.
Previous pages showed the details of the hood aluminum skin clecoed to the steel support tubing. The following photos show some of the details of the scribing of the line for trimming the steel for gap spacing.
Also seen in the photos are a few of the small spacers that were used to set the offset of the hood from the stepped flange on the cowl.
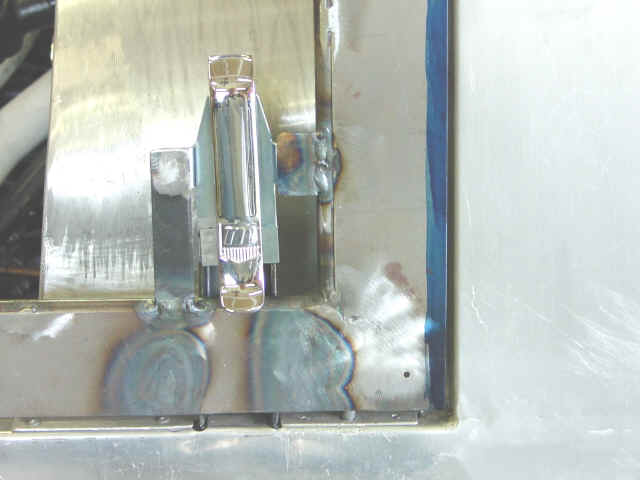
The entire front section of the coupe pivots forward for access to the engine and other components. On each side of the chassis, a 1/2" bolt is utilized for the fulcrum point while the at the rear of the hood, a latch is utilized to hold things closed. The following photo shows the latch being fitted to the support structure.
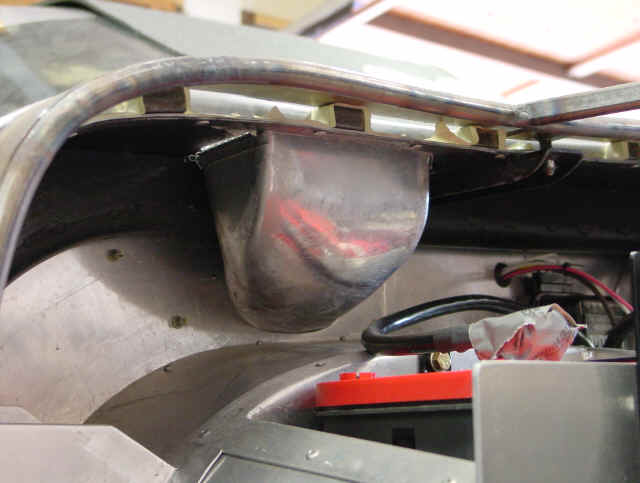
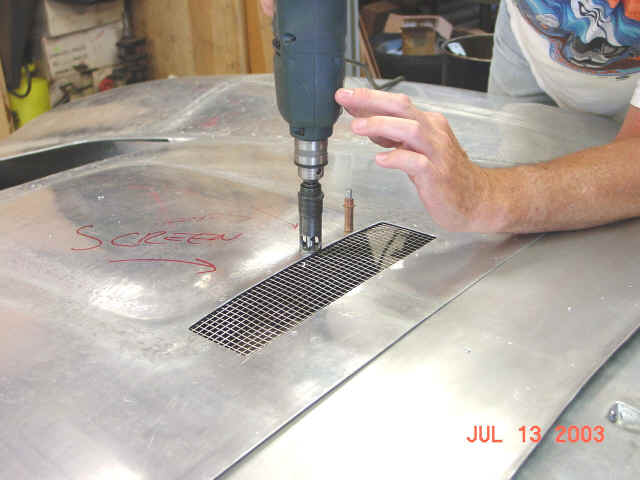
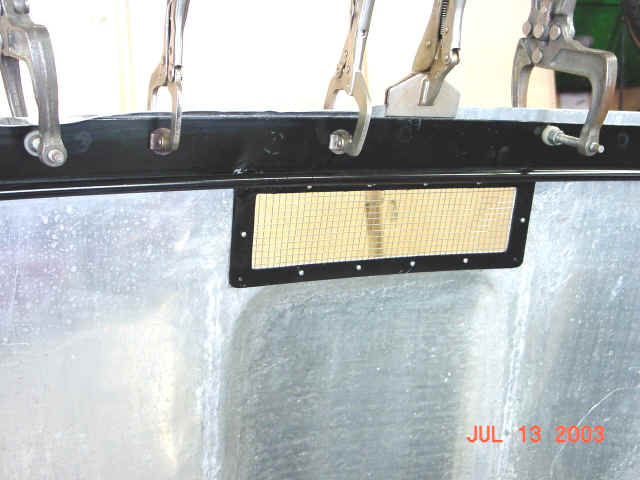
The fabrication techniques and tools for cobras utilize many concepts developed in the aircraft industry. One of these tools is seen on the end of the drill in the following photo. To obtain a uniform counter sink depth for the rivets, a special adjustable stop is used on the drill. The collar of the tool has a very fine thread that allows the stop to be precisely set and repeated for every rivet. The following photo shows drilling of the countersink holes for the flush rivets used to attach the hood to the steel frame. Also seen in the photo is the air inlet that provides fresh air into the carburetors.
After the rivets are installed, the aluminum is wrapped around the 18 gauge steel to provide the finished edge. The basic wrapping steps included trimming the aluminum to a uniform offset length from the steel, clamping the aluminum to the steel to prevent movement, beginning the bend with vise grips and then finalinaze the edge with a hammer and dolly. The following photos show the process about halfway through task.
The following photo shows the finished edge.
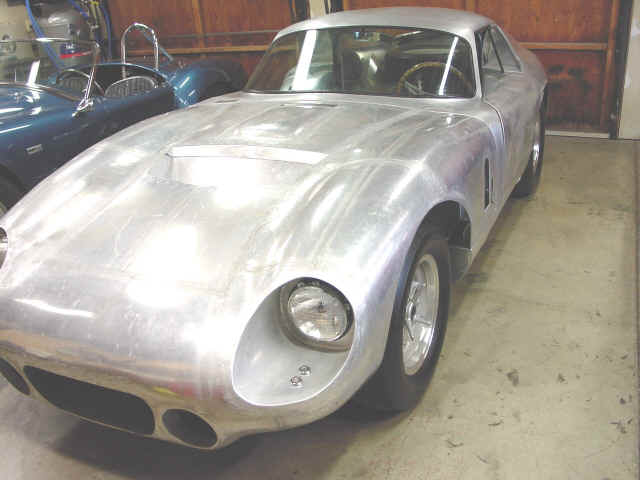
Still some fine tuning to do on the front end, but the hood is finally installed and latched into position. Headlights and front pod marker lights have also been installed.
