Welcome to Our Garage
Daytona Coupe, 289 and 427 Cobras
-26-
Daytona Coupe Cobra -
Rear Hatch
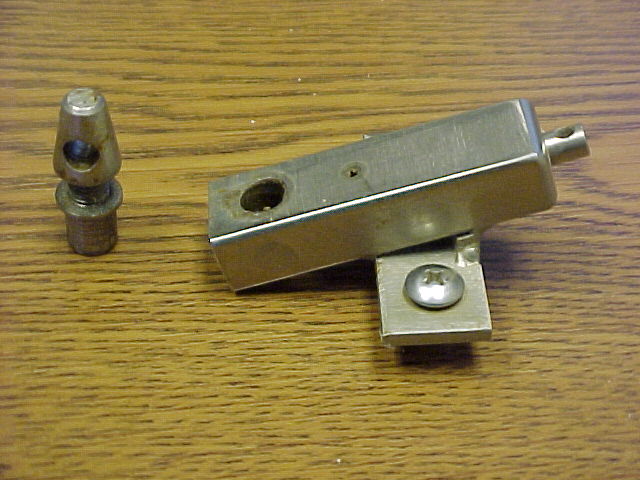
The coupe has a Plexiglas rear hatch which opens for access. The Plexiglas is supported on a perimeter steel tube frame. Hinges attached to the roll bar connect to the leading edge of the hatch back frame and a special latch is installed on the trailing edge. The following photos show the latch that will be used and a few steps in the fabrication of the perimeter frame.
A close up view of the latch that will be used on the coupe.

One of the fabrication questions that I am frequently asked is how to make large radius bends in small tubing for parts that will only be done as one-offs or very small quantities. The coupe rear hatch frame is a good example of an area that utilizes relatively small tubing (1/2" OD x .063 wall thickness) and where a simple approach is appropriate. There are many approaches that could be utilized, but the following was simple, inexpensive and most importantly successful. The technique requires only a flat table surface, and two pieces of wood. The wood "bending dies" are clamped to the table separated by the width of the tubing. One of the pieces of wood should have a radius of several inches (the exact radius isn't critical) and the second should be straight. The tubing is wedged between the two pieces of wood and hand pressure is applied at the end of the tube until a slight bend is made. The tube is then advanced along it's length for another bend. The process is continued along the tube until the required radius of bend is accomplished. A few hints that make the process a little easier; mark the tube every inch along it's length; don't bend to much at any one point, don't cut the tube to exact length initially and keep the tube flat on the table. The marks provide easy reference points to know where additional (or less) bending is required as the tube is removed from the table to check against the pattern. The tighter the bend the more important it is to advance the tube slightly and make many small bends. A larger radius on the wooden "die" will allow the bend to be more controllable and the finished part more uniform. The extra length length on the tube allows for leverage as the tube is advanced in the dies toward the end of the bend. Slipping a piece of steel rod inside of the tube also assists in providing additional leverage at the end of the bend. Assuming that the intent is to make the bend in one plane, it is important to keep the tube flat on the table, which is sometimes easier said than done. A leather sand bag is good weight for keeping the tube flat against the table. Another advantage of this approach is that it is also adaptable for bends with several parts that have curves with variable radius.
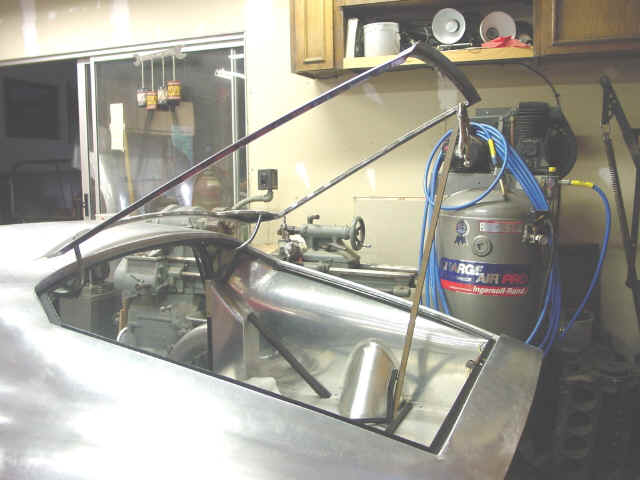
The the corner fabrication and completed rear hatch frame installed on the coupe is shown in the following photos.
Note the high tech (wood stick) prop rod for retaining the hatch in the open position.
The next step is to trim and attach the Plexiglas to the frame. This will be shown in future updates.

