Welcome to Our Garage
Daytona Coupe, 289 and 427 Cobras
-28-
Daytona Coupe Cobra -
Rear Plexiglass Hatch
The previous page showed the bare frame that supports the Plexiglas for the rear hatch. The following photos show the process of mounting the Plexiglas to the frame and fitting to the body.
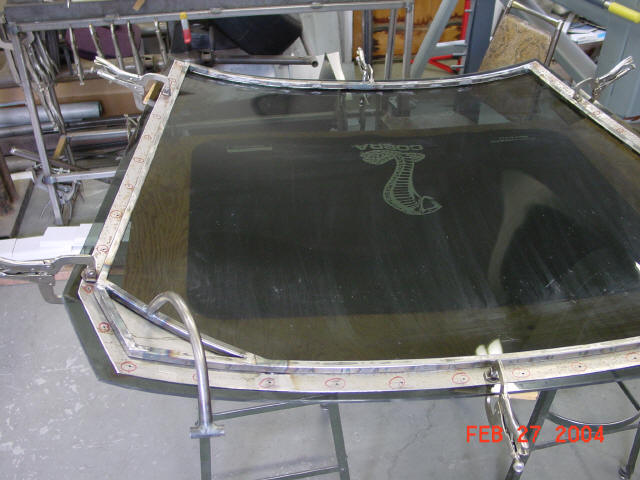
Although Plexiglas is slightly more forgiving than the windshield glass in terms of flexibility, it is still important to ensure that the contour of the Plexiglas matched the body contours. To make the fitting process easier, the original coupes utilized a technique similar to the manner of attaching the aluminum skin to the hood, doors and trunk. This technique involves attaching (welding in the case of the coupe) a piece of 18 gauge mild steel to the steel hatch frame. The 18 gauge material is initially cut to be slightly wider than necessary so that it when the hatch frame is in the closed position, the 18 gauge extends slightly onto the aluminum body skin. The 18 gauge is then trimmed to provide the desired clearance between the body and the Plexiglas . This establishes the final overall size of the Plexiglas. After the 18 gauge trimming operation, the steel is adjusted to match the exact contour of the aluminum skin by bending it slightly up or down as required. The following photo shows the Plexiglas clamped to the frame in preparation for drilling.
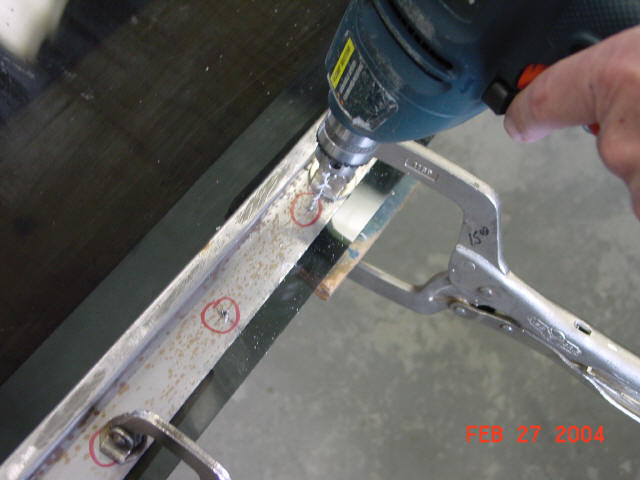
Having never worked with Plexiglas before, I did some internet research for tips on fabrication, drilling and trimming. (As an example, drilling of Plexiglas requires a slightly different drill tip angle). As the Plexiglas was drilled it was temporarily secured with Clecos. After all the mounting holes were drilled, the Plexiglas was trimmed to the exact size of the 18 gauge steel. Because the piece was relatively large and somewhat awkward, cutting was done with a hand held saber saw and a fine tooth blade and then an air powered sander was used to bring the final Plexiglas size exactly to the size of the 18 gauge. The drilling operation is shown in the next few photo.
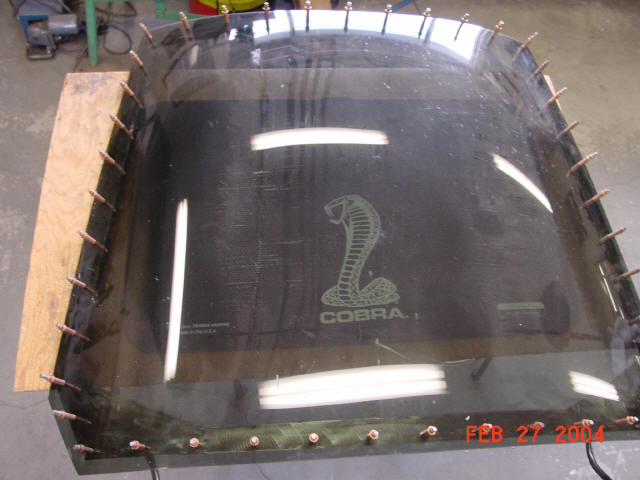
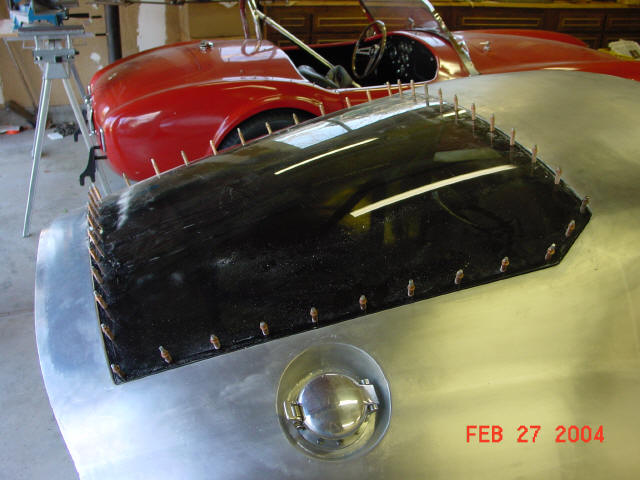
After the drilling the entire assembly is secured with cleos and ready for the trimming.
The cobra graphic barely visible in the center of the Plexiglas is not on the glass itself, but on the pad that I used to prevent scratching the entire assembly. Nice touch that I didn't even notice until I was assembling the web page.
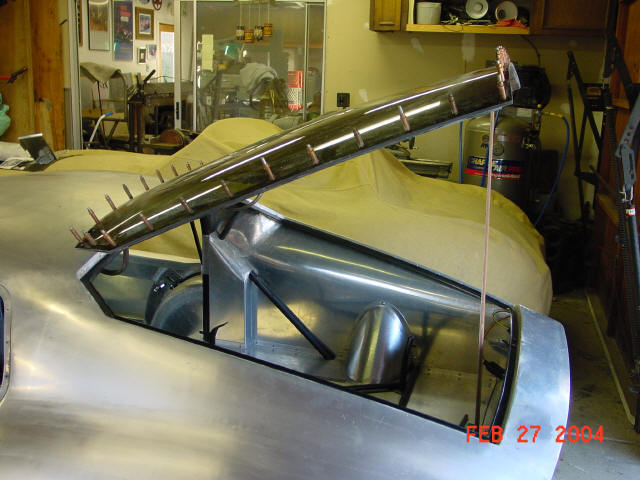
The next two photos show the clecoed hatch being trial fit to the opening. Note the high tech device holding the hatch in the open position, cleverly disguised as a wooden stick.
Finally, the Plexiglas is secured to the steel hatch frame with machine screws. The holes are drilled slightly larger than the body size of the machine screws to allow for expansion of the Plexiglas. The screws are installed with a small nylon washer and tightened to only a snug fit to minimize the chance of stress cracks at the holes.
